Ask Dr. Potato
With 939 posts, chances are there's already an answer to your question. Please try searching below before submitting a question to Dr. Potato. Use multiple words to help narrow down the results. For example, search for "potatoes" and "group" if looking for an answer on cooking potatoes for large groups.
Potato Chips
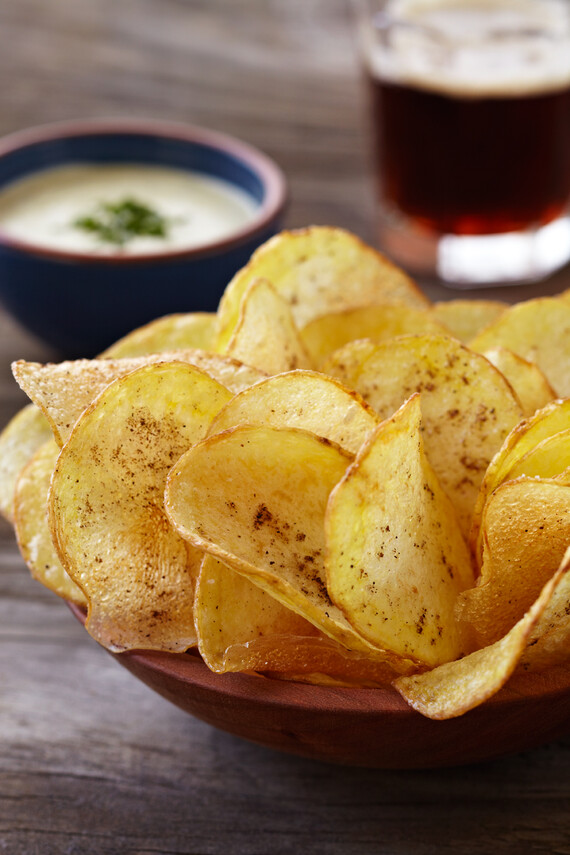
Here are three things you can do right now, I promise, that will improve how your home made potato chips turn out and one bonus idea!
- Start with an Idaho® potato. Idaho grows several russet varieties and a couple of yellow flesh varieties that will make spectacular fresh potato chips. The favorite, and most popular variety Idaho® potato growers produce is the Russet Burbank, named after famed plant scientist Luther Burbank. It’s the potato that made Idaho famous for potatoes. The reason it works so well? High in starch (sometimes called potato solids) which makes it low in moisture. Who wants floppy soggy chips? Put your hand up. Good, no takers.
Because of Idaho’s climate – rich volcanic soil that sheds water easily, low amounts of rainfall during the growing season, and warm days the potatoes in Idaho not only grow big, they have a tendency to bake up dry and fluffy and crisp up nicely for chips. Even the Yukon Gold variety, a medium solids potato, tends to be a little drier when grown in Idaho soil. This yellow potato, along with the Yukon Gem or the proprietary variety Klondike Goldust® can all make great chips. Red potatoes are too waxy and moist to make a decent potato chip. - Don’t refrigerate the potato the starch will convert to sugar and you’ll get a dark, caramelized chip. In fact, ideal storage is 45 to 55 degrees F.
- Cut the potatoes into thin slices with a sharp knife or a Mandolin and immediately rinse and store in chilled water till ready to dry off and fry in hot oil. Use a salad spinner to completely dry the potato slices or take them out of the bowl of water and pat dry.
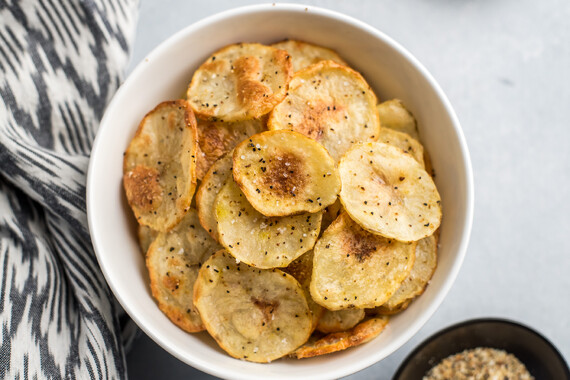
At this stage you can either bake the chips by placing on a Silipat or baking tray lined with parchment paper or on an aluminum tray that has a light coat of oil or spray… OR you can heat up some oil in a pan or portable fryer like a Fry Daddy brand unit. The oil needs to be hot enough to keep the chips, placed a few at a time, from absorbing the oil too much. In a commercial fryer that temp is typically 350 degrees F. If the oil is smoking, it’s too hot. Finish frying, place on a metal grid lined pan or on paper towels to drain any excess oil off the chips. You could also leave them at room temperature if fixing ahead and place in a warm oven (without the paper towels) just before serving.
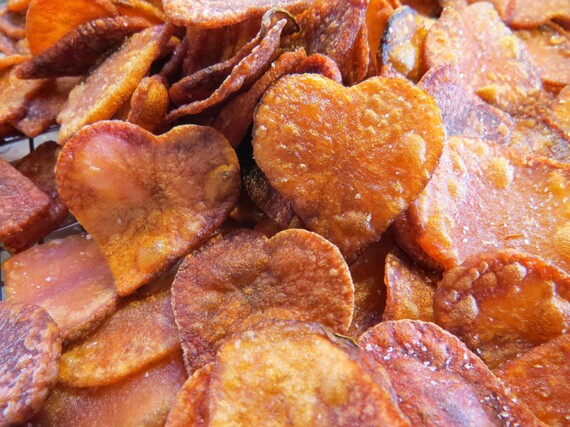
Now for the bonus idea, that will have your guests raving about how inventive you are… when using russets, rather than slice the potato vertically into circles, slice it the entire length of the potato. This will make a unique presentation.
A few more tidbits:
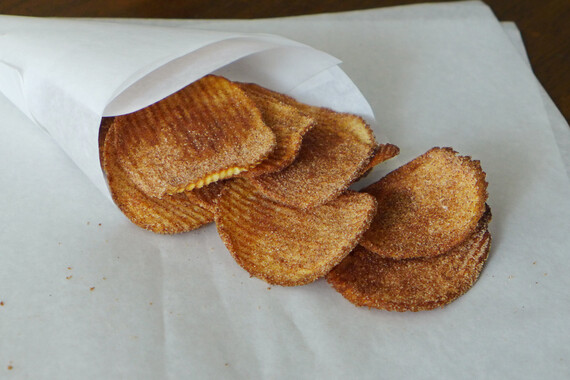
Never salt the potato slices before frying (breaks down the oil), have a salt/pepper/spice mixture ready to go in brown paper lunch bags and add the warm chips, seal the bag shut and give the chips a shake. This is also a way that each guest can customize their chips. Personally I like mine with sea salt, fresh coarsely ground pepper and some Parmesan or powdered white or yellow cheddar cheese (available from King Arthur’s Flour). Surprise guests by fixing a small batch of chips and then dusting them with a cinnamon sugar salt mixture, sort of a savory sweet version.
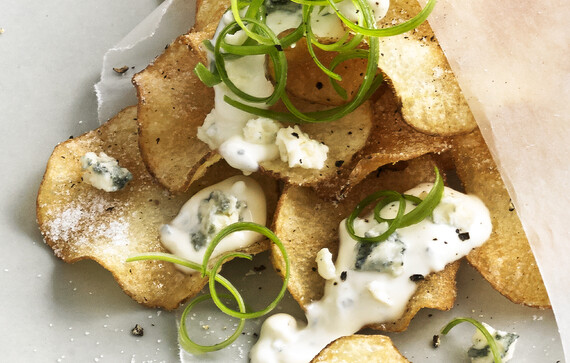
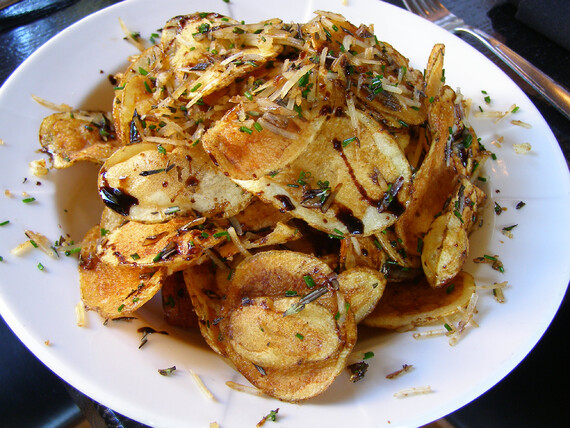
Below are a couple of recipes for fresh made chips from our recipe files.
Share This

Dr. Potato isn't a real doctor but a team of potato experts ready to answer all your potato questions.
Click here to submit »
Popular Tags
Dr. Potato Categories
The Idaho Potato Commission
Established in 1937, the Idaho Potato Commission (IPC) is a state agency that is responsible for promoting and protecting the famous "Grown in Idaho®" seal, a federally registered trademark that assures consumers they are purchasing genuine, top-quality Idaho® potatoes. Idaho's ideal growing conditions, including rich, volcanic soil, climate and irrigation differentiate Idaho® potatoes from potatoes grown in other states.
Contact
661 South Rivershore Lane
Suite 230
EAGLE, ID 83616
Phone: 208-334-2350
Fax: 208-334-2274
More
